

Starting a garden is one of the most rewarding projects you can take on. There’s nothing quite like watching your seeds sprout and grow into vibrant plants. But before you can enjoy the fruits (or vegetables) of your labor, you need to lay the right groundwork. That foundation is your soil. Getting the soil mix right is the secret to a healthy, productive garden, and it all starts with understanding how to combine soil and compost effectively.
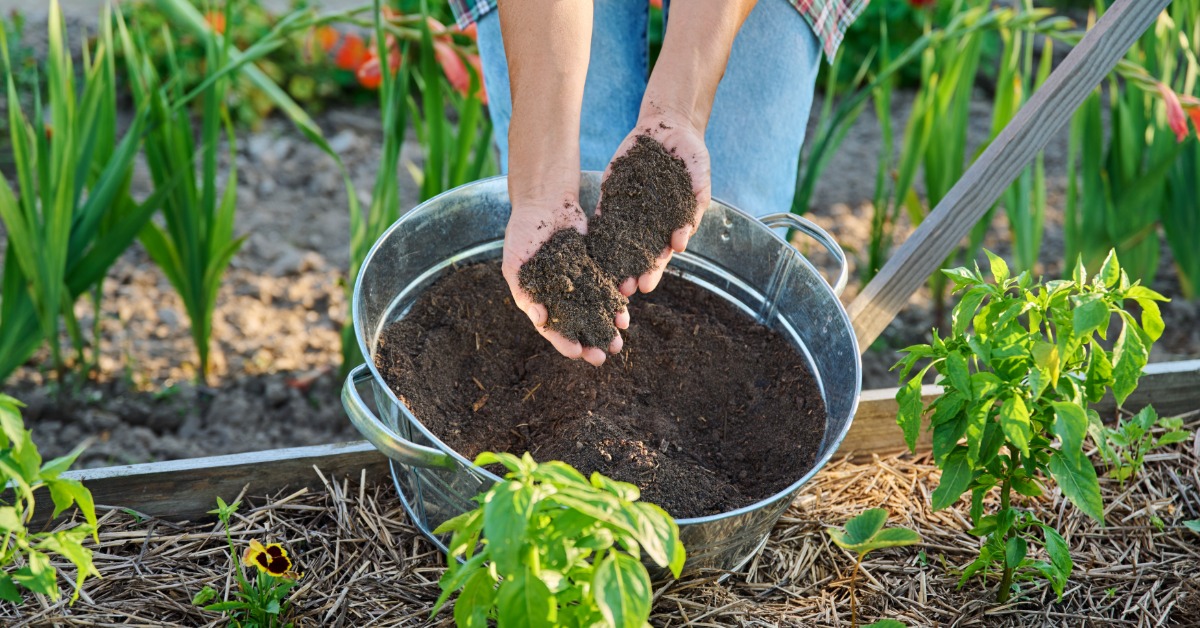
Many new gardeners think they can just dig a hole, drop in a plant, and expect it to thrive. While some hardy plants might survive, most need a nutrient-rich environment to flourish. That’s where compost comes in. Think of it as a superfood for your plants. It enriches the soil, improves its structure, and provides the essential nutrients your garden needs to produce beautiful flowers and delicious food. Read on as give you a DIY guide to mixing soil and compost for garden beds, carefully crafted by the pros at Victory Greens Stone.
Start With a Soil Test
Before you start adding anything to your garden, you need to know what you’re working with. A simple soil test tells you about your soil’s pH level and nutrient content. You can find easy-to-use soil test kits at most garden centers or online. These kits will give you a baseline reading of your soil’s health, revealing whether it’s acidic, alkaline, or neutral.
It will also show if you are low on key nutrients like nitrogen, phosphorus, or potassium. This information helps you make informed decisions about what amendments to add, ensuring you give your soil exactly what it needs without overdoing it.
Understand the Ideal Soil-To-Compost Ratio
Once you know your soil’s starting point, you can determine the right mix. A great general rule for new garden beds is to use a ratio of about 60 percent topsoil to 40 percent compost. If you’re amending an existing bed with decent soil, you can use less compost, maybe aiming for a 70/30 split.
For heavy clay or sandy soils that need more help, you might increase the compost to 50 percent. The goal is to create a balanced environment that holds moisture, drains well, and is packed with nutrients. Remember, this is a starting point, and you can always adjust based on your soil test results and the types of plants you plan to grow.
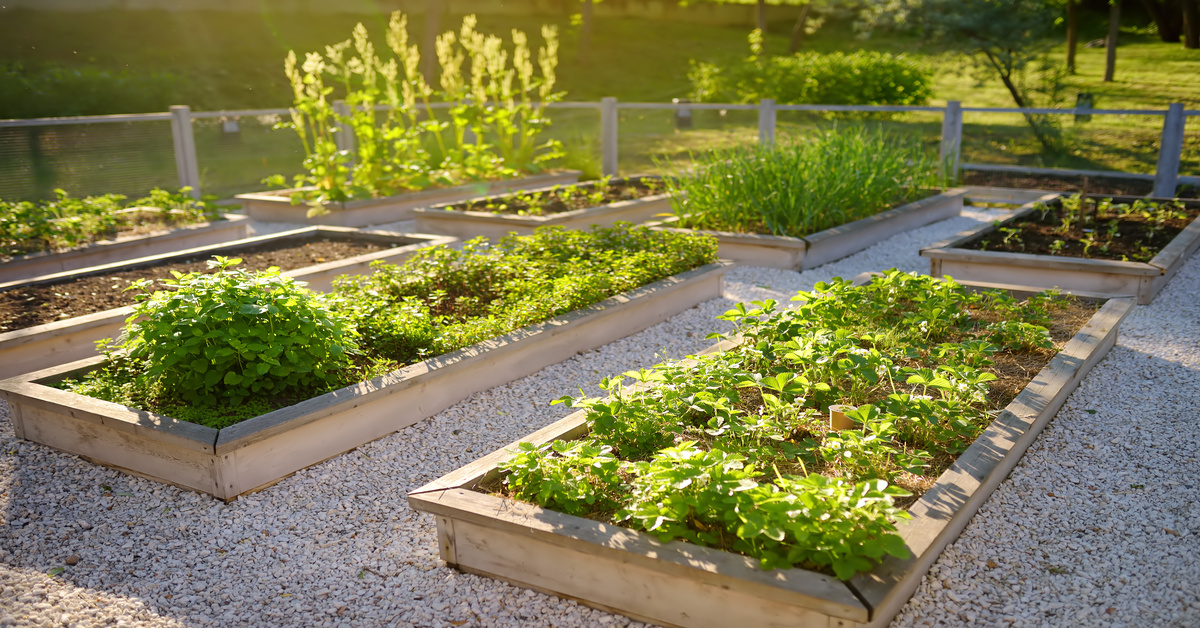
Prepare the Garden Bed for Mixing
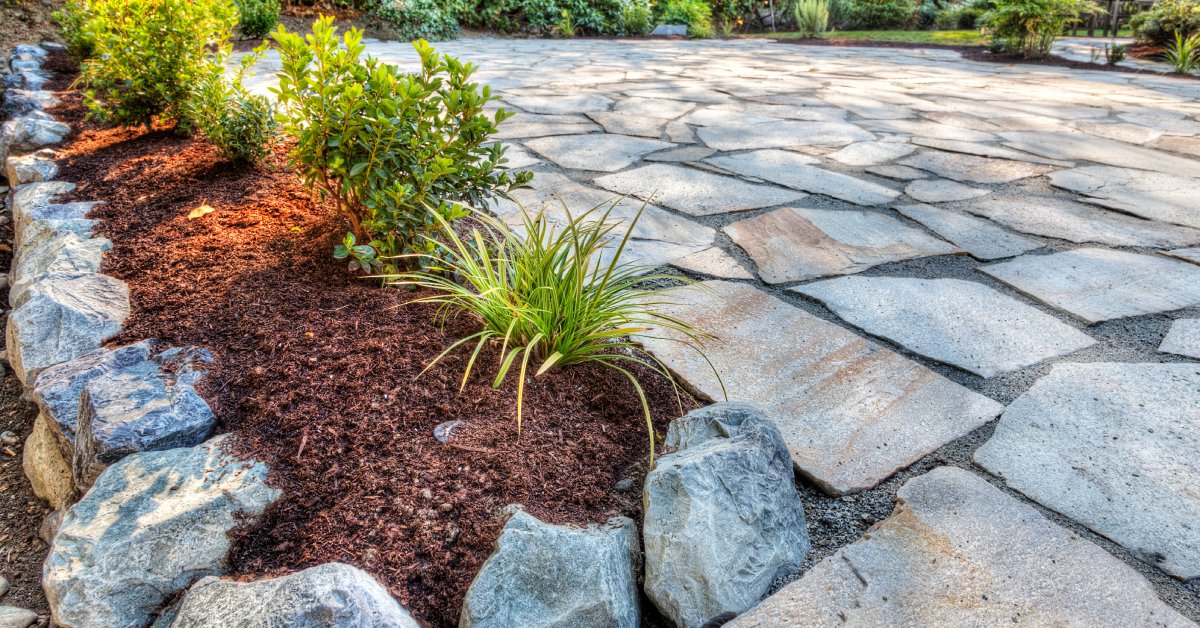
Proper preparation makes the mixing process so much easier. First, clear the area of any weeds, grass, rocks, or other debris. Use a shovel or a garden fork to loosen the existing soil to a depth of about 8 to 12 inches. This is what we call tilling or turning over the soil.
Breaking up compacted soil helps with aeration and drainage and makes it easier to incorporate your compost and other amendments. If your garden bed has borders, this step also ensures your new soil mix is uniform from edge to edge.
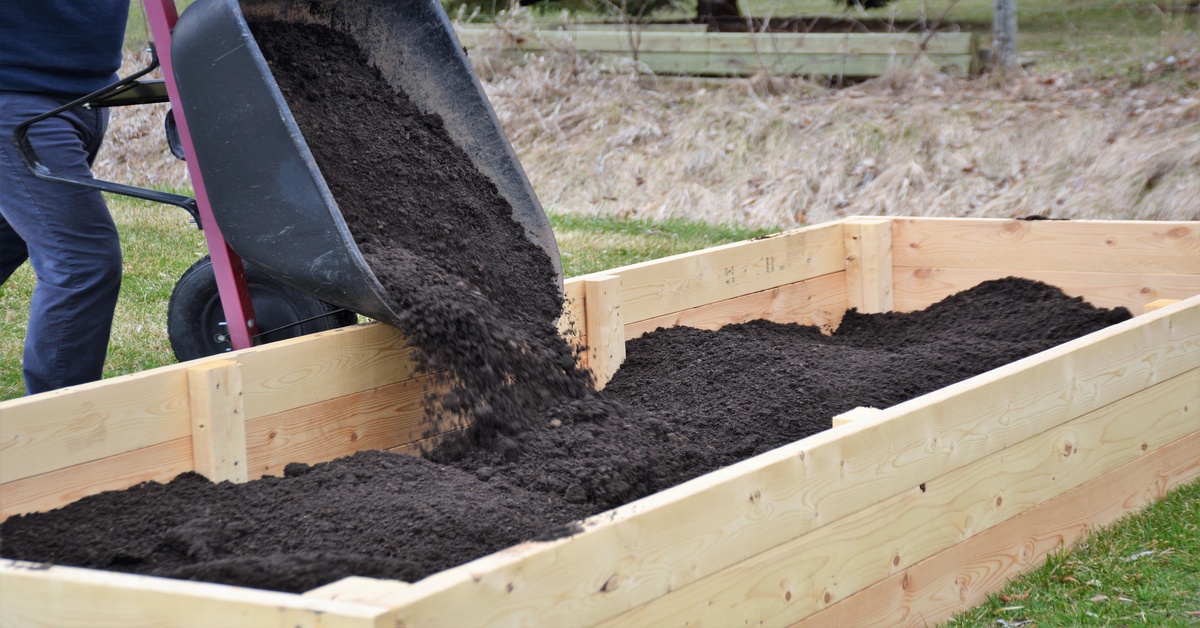
Layer and Mix the Materials
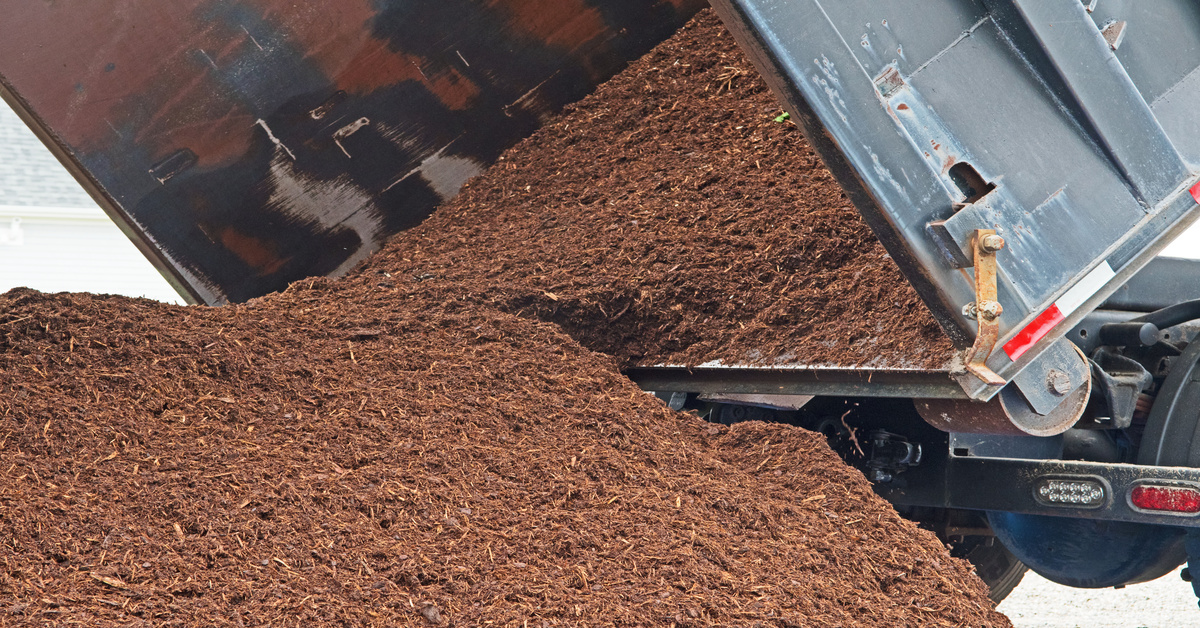
Now for the fun part! Start by spreading a layer of topsoil over the prepared garden bed. Then, add a layer of compost on top. Don’t worry about getting the layers perfectly even. Using a shovel, garden fork, or rototiller, begin to turn the layers over, blending them together.
Work your way across the bed, digging down to incorporate the loosened native soil at the bottom. The goal is to create a consistent, uniform mixture throughout the entire depth of the bed. You’ll know you’re done when you can no longer see distinct layers of soil and compost.
Consider Adding Other Amendments
While compost is fantastic, sometimes your soil needs a little extra help. Based on your soil test, you might add other materials to improve its structure and nutrient profile.
- For Heavy Clay Soil: Adding coarse sand or small pea gravel can improve drainage and aeration. Be careful not to add too much, as you don’t want to turn your soil into concrete.
- For Sandy Soil: Peat moss or coconut coir can help with moisture retention, keeping your plants hydrated for longer.
- For Nutrient Deficiencies: Specific organic fertilizers can address a lack of nitrogen, phosphorus, or potassium.
When you’re sourcing materials like sand, topsoil, and compost in Boise, Idaho, talk to your local pros at Victory Greens Stone and Garden Center. We often provide advice tailored to the region’s specific soil conditions.
Know When To Add Compost
Fall is an excellent time to add compost to your garden beds. Spreading a thick layer over your garden in the autumn allows it to break down over the winter. Earthworms and microorganisms will work their magic, incorporating organic matter into the soil.
By the time spring arrives, your garden will be full of rich, fertile soil, ready for planting. You can also add compost in the spring, a few weeks before you plant, to give your seedlings a nutrient boost right from the start.
Create Your Own Compost Pile
Making your own compost is a wonderful way to reduce waste and create a free source of nutrients for your garden. Start a compost pile or bin and add a mix of green materials—kitchen scraps, coffee grounds, and grass clippings—and brown materials—dried leaves, cardboard, and twigs.
Keep the pile moist and turn it regularly to aerate it. In a few months, you’ll have dark, crumbly compost ready to be added to your garden beds.
Keep the Soil Healthy Year-Round
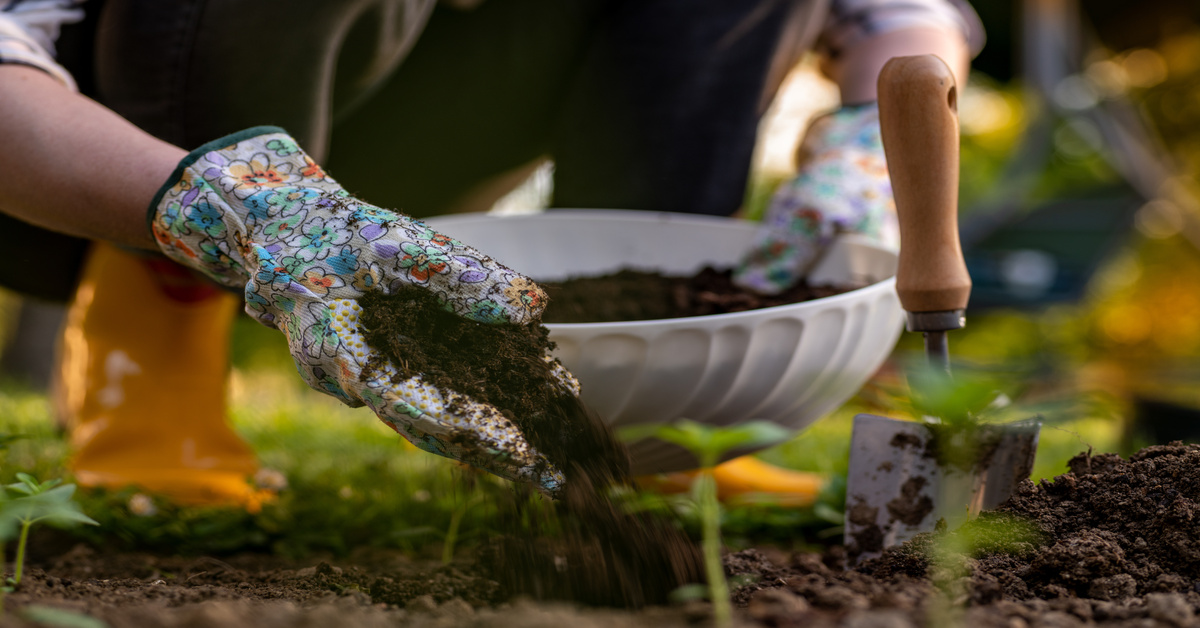
Maintaining healthy soil is an ongoing process. Throughout the growing season, you can top-dress your plants by adding a thin layer of compost around their base. This provides a slow release of nutrients every time you water.
At the end of the season, consider planting cover crops like clover or rye. These crops prevent erosion, suppress weeds, and add organic matter back into the soil when you turn them over in the spring.
Your Path to a Thriving Garden
Creating the perfect soil mix is a journey of learning and observation. By starting with a good mix of soil and compost, you set your garden beds up for success. Pay attention to how your plants respond, and don’t be afraid to make adjustments along the way. A healthy garden starts from the ground up, and with this knowledge, you are well on your way to building a vibrant and productive space. The team here at Victory Greens Stone can help you begin a healthy mix so that in the spring, your gardens can truly flourish. Let us know how we can help you today!