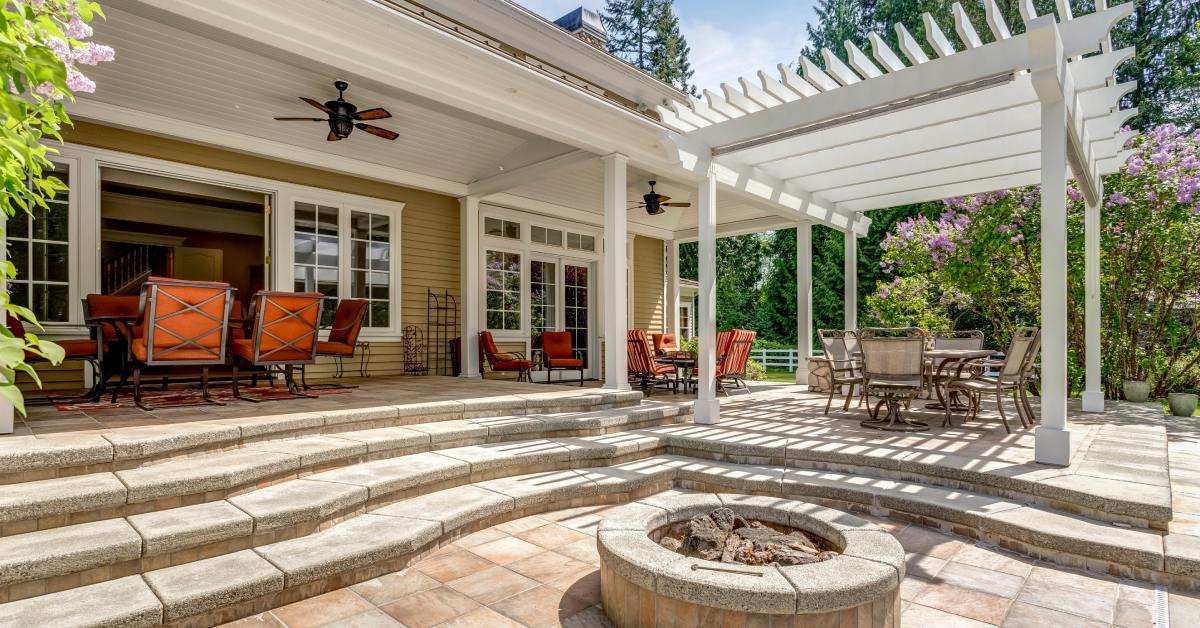
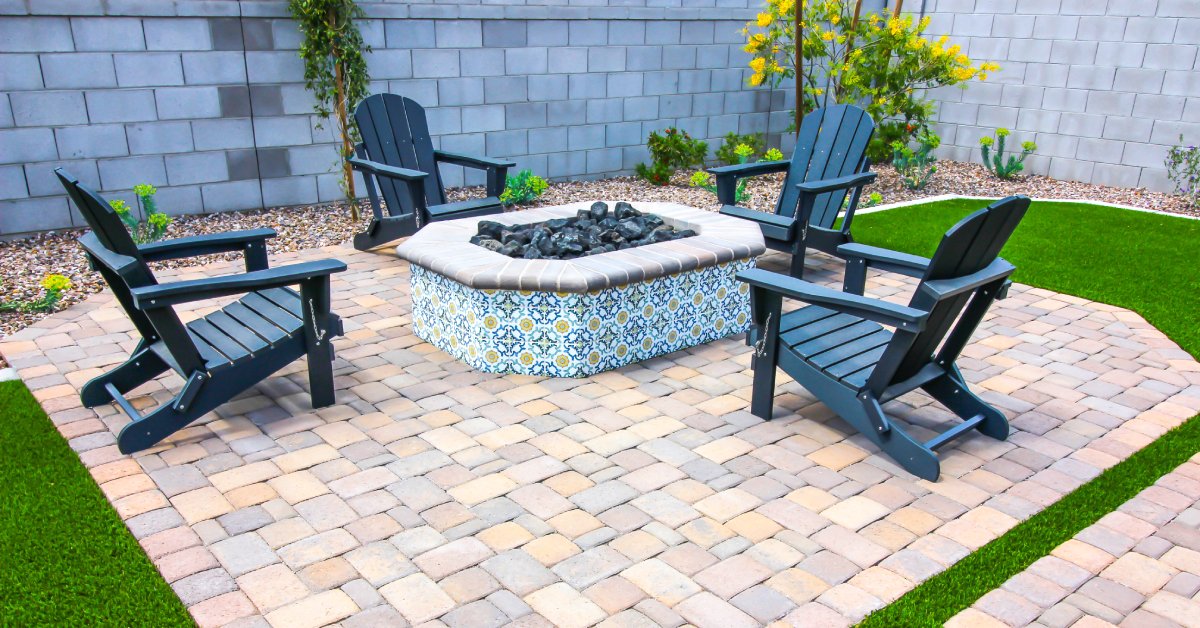
A beautiful backyard patio transforms an unused patch of lawn into your favorite spot for summer barbecues and quiet morning coffees. If you’re dreaming of adding a durable, stylish outdoor living space to your home, a paver patio is an excellent project you can tackle yourself. It adds value, function, and a professional touch to your landscape.
Building your own patio may seem like a big job, but breaking it down into manageable steps makes it completely achievable. With the right tools, materials, and a bit of planning, you will create a stunning patio that will last through years of gatherings and moments. We’ll walk you through everything you need to know, from preparing the ground to laying the final paver, so that you can build with confidence. Here’s your step-by-step backyard patio project using pavers.
Prepare the Patio Area for Pavers
First things first, you need to decide where your new patio will go and how big it will be. Use a tape measure, stakes, and string to outline the patio’s dimensions. You can also lay out a garden hose or use marking paint to see how the size feels for your space. Think about how you plan to use the new area. Do you need room for a grill, a dining table, or a few lounge chairs? This will help you settle on the perfect size and shape.
Excavate the Patio Foundation
Proper excavation is the key to a long-lasting patio that won’t shift or settle over time. You need to dig out the area within your outline to a depth of about seven to nine inches. This depth accounts for a four to six inch layer of paver base, a one inch layer of sand, and the height of your pavers.
Make sure the excavated area is level. Use a hand tamper to compact the soil at the bottom of the trench. It’s also a good idea to create a slight slope—about a 1/4 inch drop for every foot—away from your house. This ensures rainwater drains properly and doesn’t pool on your patio or run toward your home’s foundation. A four foot level with a small block of wood taped to one end can help you check the slope as you dig.
Build a Gravel Paver Base
With the area excavated, it’s time to build a solid foundation. The paver base, typically made of crushed gravel, provides the primary support for your patio. Pour a layer of gravel base material into the excavated area, spreading it evenly with a hard rake.
You should add the gravel in two inch layers, compacting each one thoroughly before adding the next. A hand tamper works for small patios, but renting a plate compactor will save you a lot of time and effort on larger projects. Continue adding and compacting layers until you have a solid gravel base that is four to six inches deep. This step is critical—a poorly compacted base will lead to an uneven patio down the road.
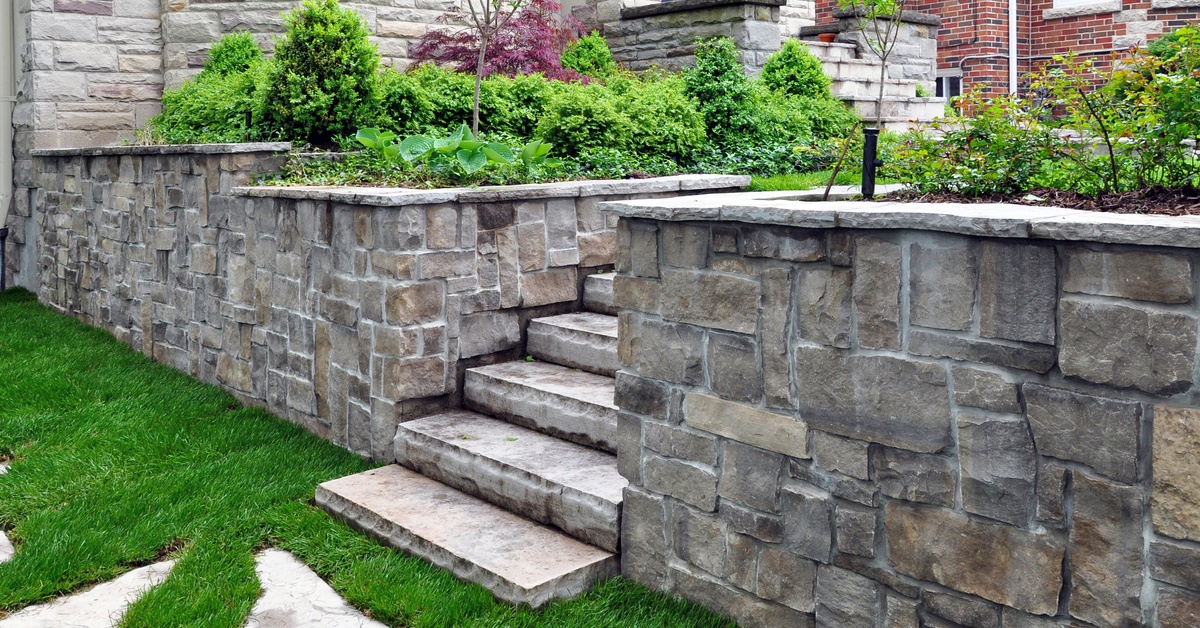
Install the Paver Edge Restraints
Edge restraints can frame your patio, holding the pavers tightly in place and preventing them from shifting or spreading apart. You can install most plastic or metal edge restraints directly on top of the compacted gravel base.
Position the restraints along the inside perimeter of your excavated area. Secure them by driving long landscaping spikes through the provided holes and into the gravel base. This creates a sturdy border that will lock in your pavers.
Spread a Sand Bedding Layer
Next, you will add a layer of coarse sand on top of the compacted gravel base. This sand bedding provides a cushion for the pavers and makes it easier to set them level. You’ll need about a one inch layer of sand spread evenly across the entire area.
To get the depth just right, lay two, one inch diameter pipes parallel to each other across the gravel base. Pour the sand between them, then pull a straight 2×4 board across the tops of the pipes to screed, or level, the sand. Remove the pipes and carefully fill in the voids with a little extra sand, smoothing the area with a trowel. Be careful not to walk on or disturb the smoothed sand.
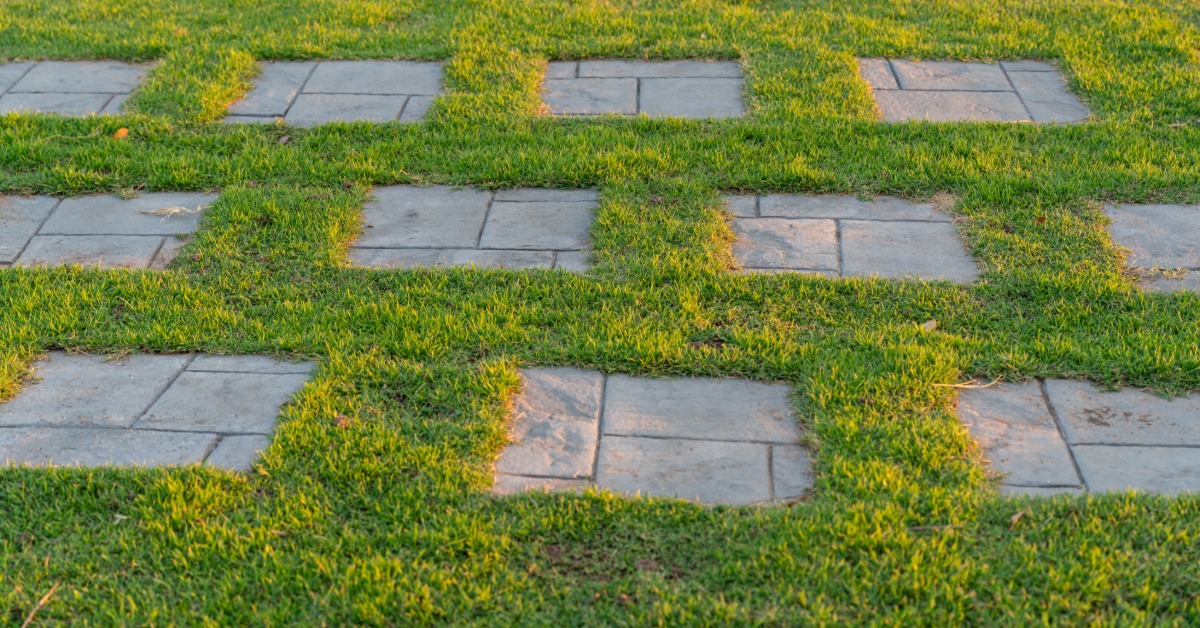
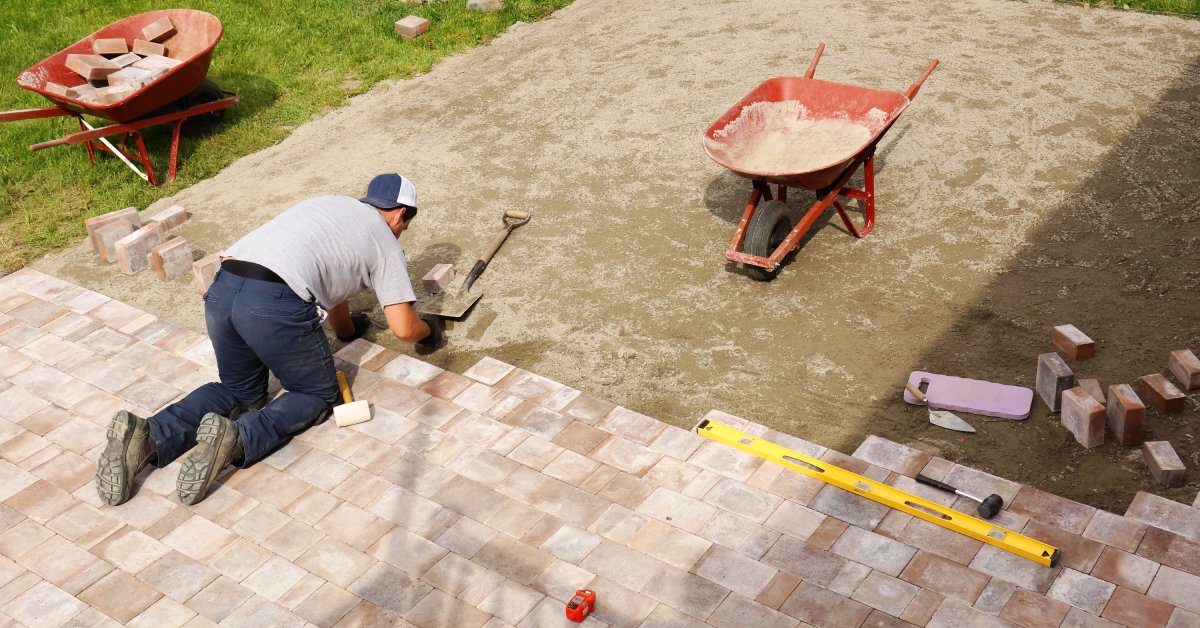
Lay the Pavers in Your Desired Pattern
Now for the fun part: laying the pavers! Start in one corner—usually a 90 degree corner against the house and work your way out. Place the pavers directly onto the sand bed, setting them gently in place without twisting or sliding them. Use a rubber mallet to tap them lightly to set them.
You can choose from many patterns, such as a running bond, herringbone, or basket weave. Whichever you select, maintain consistent spacing between each paver, typically about 1/8 of an inch. You can use paver spacers to keep the joints uniform.
Cut Pavers To Fit the Edges
Unless your patio is a perfect rectangle built with uncut pavers, you will need to cut some pavers to fit along the edges. Use a tape measure and a pencil to mark the pavers that need cutting.
A masonry saw or a wet saw is the best tool for this job, as it will give you clean, precise cuts. Always wear safety glasses and a dust mask when cutting pavers. Place the cut pavers into position along the edges of your patio to complete the pattern.
Fill the Paver Joints With Sand
You need to fill the joints between the pavers with sand to fully finish the job. This locks them together and prevents them from moving. Use polymeric sand, which contains additives that harden and bind when mixed with water.
Sweep the polymeric sand across the dry patio surface, completely filling the joints. Use a leaf blower on a low setting to blow any excess sand off the tops of the pavers.

Find the Best Pavers for Your Project
Building a paver patio step-by-step is a rewarding project that adds lasting beauty and utility to your home. By following this guide, you can create a professional-quality outdoor space that your family will enjoy for years. From high-quality landscape pavers in Boise to the right base materials, having the best supplies makes all the difference in long-term functionality and durability.
Ready to start your project? Come visit Victory Greens to explore our wide selection of pavers and talk to one of our friendly staff members about your patio plans.